Plastering requires skill and is a profession by trade, but if you're keen to learn, there's no reason not to try small plastering jobs in your own home. However, if you do want to try your hand at DIY plastering, you will need the right
plastering tools. Read our article Here on plastering tools to find out more.
Hawk
A
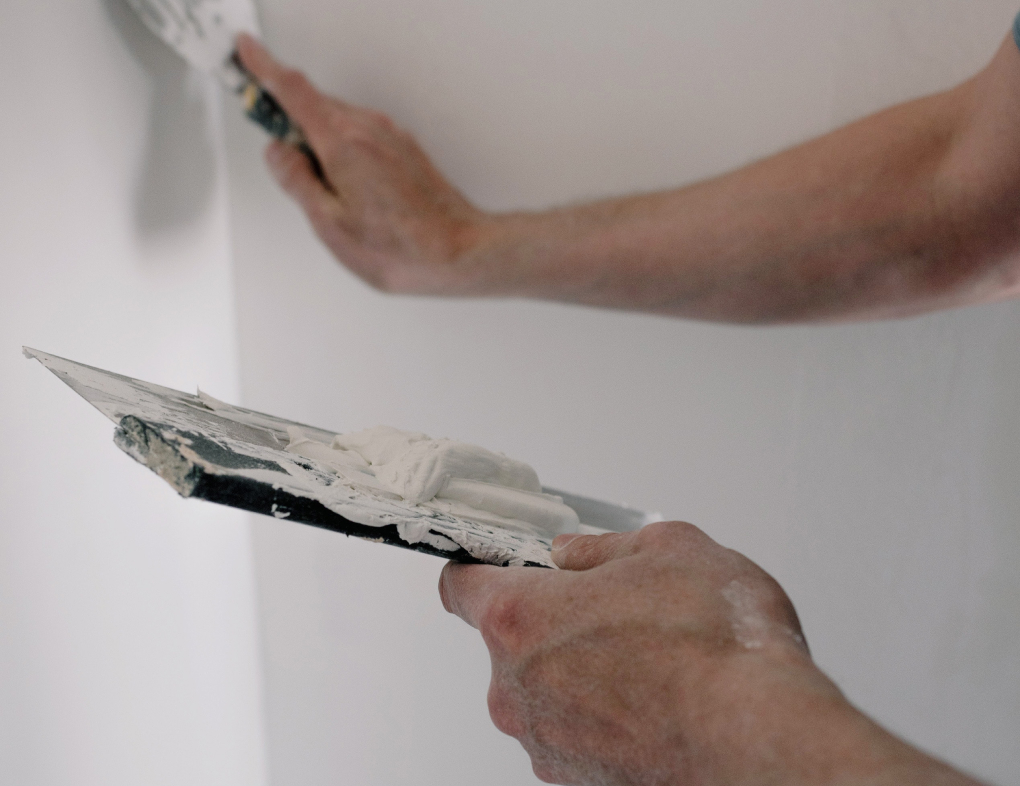
plastering hawk is a flat board with a handle. Hawks are used for holding plaster as you work and make it easy to transfer plaster from trowel to wall.
Hawks vary in size and are made of lightweight metal or plastic. Professional plasterers tend to use larger hawks as they have developed the necessary handling skills (as well as some extra arm muscles!). As a beginner, you may benefit from a smaller, lightweight hawk as you get used to handling.

Trowel
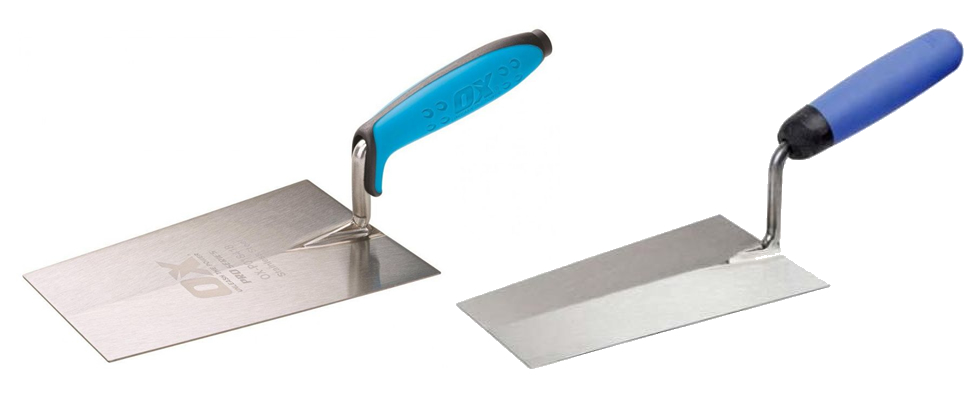
Perhaps the most essential tool when it comes to plastering is the
trowel. Your trowel will be used to scoop plaster and to apply it onto walls. Professional plasterers usually use a selection of
trowels throughout the plastering process depending on the stage and section of the wall they are plastering. As a DIY plasterer, you won't need quite as many tools, but you may benefit from a larger and smaller
trowel or
corner trowel to help work around edges, windows and doors.
Bucket Trowel
Unlike a
plastering trowel, a
bucket trowel is used specifically for transferring plaster from bucket to hawk. If you're new to plastering altogether, you may think this an unnecessary tool however bucket trowels are a completely different shape to a plastering trowel. Bucket trowels are made with an indent to properly scoop and transfer plaster without wasting any or making mess. If you were to use your plastering trowel to scoop plaster from the bucket on the other hand you will be left with a messy trowel and won't be able to work neatly, resulting in a sloppy result.

Water Brush
Plaster brushes or
water brushes are used for applying water directly onto walls before applying plaster. This is a necessary step in many plaster applications as applying plaster directly onto absorbent walls will mean the walls draw moisture from the plaster and cause it to crack. Water brushes are also used for neatening up edges and 'roughing' up plaster before adding a final coat for better adherence.
Mixing Bucket
To mix your plaster you will need a strong, slightly flexible bucket that will hold your plaster and withstand the pressure of mixing. Hard
plastic buckets are fine, providing they are strong and sturdy. Many plasterers however prefer to use a
flexible tub.
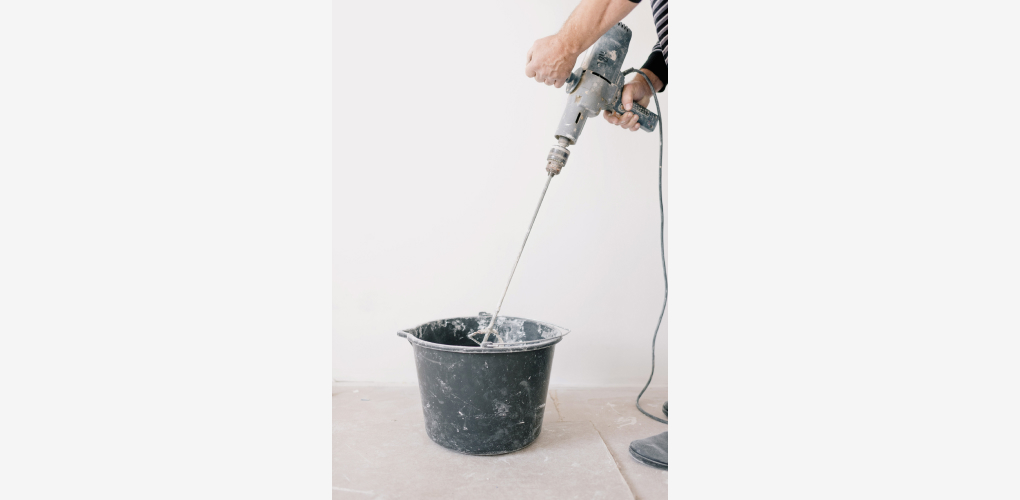
Plaster Mixer
This is not a tool that is absolutely necessary, however it is something that speeds up the whole plastering process and makes your life easier! Professional plasterers will almost always use an electrically powered plaster mixer. A normal drill can be used with the correct paddle attachment or you can even mix the plaster by hand with a trowel.
Plaster mixers are great investments for those who are in the trade or do a lot of DIY, however if you are just looking to plaster a single room, or work on a one-time project it is better to look at renting or borrowing one of these tools.


