Whether youre repairing a damaged wall, installing a new room or refreshing an existing one, plastering requires skill, preparation and practice. If you're thinking of taking on a plastering project in your home, it's essential to have the right tools for the job. In this guide, we'll explore the essential tools, offer tips on choosing equipment and advice on application to help you build a plastering kit, that rivals that of the professionals.
Building your Plastering Tool Kit
Before Starting your plastering project, make sure you have the following tools at your disposal. Remember, tools can be borrowed or bought second hand to reduce costs!
Mixing Tools:
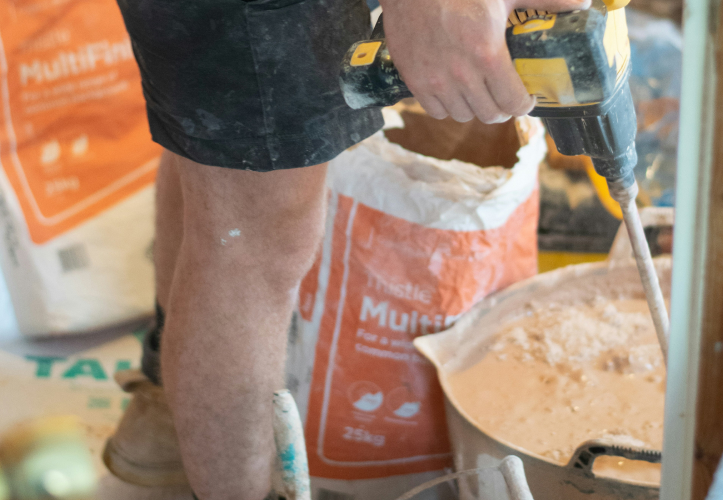
Before you can apply plaster, you'll need to prepare the mixture. To do this, you'll require a plaster mixer or mixing paddle (which attaches to a power drill), and a sturdy bucket.
Plaster Mixer: A
plaster mixer is a power tool designed specifically for mixing plaster, paint and other viscous building materials. Plaster mixers come in various sizes, wattages and therefore prices. Plaster mixing is laborious and tiring work and so a plaster mixer is an excellent investment if you have a large room or multiple rooms to plaster.
Mixing paddle: a
mixing paddle is a tool used to blend dry plaster with water to achieve the right consistency. Mixing paddles can be hand powered or attached to a power drill. Proffesional plasterers rarely mix plaster by hand. However, if you only have a small area to plaster, manual mixing may be a suitable option.
Bucket: One tool that mustn't be forgotten when creating your plasterers kit is the humble
plaster bucket. A plastering bucket is a simple but absolutely essential tool for plastering. Make sure you choose a
bucket with a large capacity and flexibility. The bucket should be big enough for plaster mixing and flexible to withstand the force of power mixing tools.

Application Tools
Once the
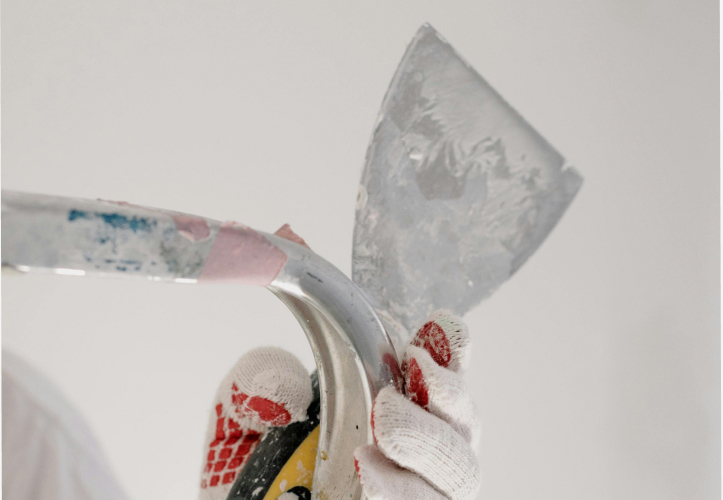
plaster is mixed, you'll need tools for applying it to the surface. A plastering trowel is essential for spreading the plaster evenly, while a hawk provides a convenient platform for holding the plaster as you work. Plastering trowel: There are many types of trowel available and choosing the right one can be overwhelming. As you work, you may find you require special trowels for application in corners and around fixtures etc. However, a simple, medium-sized stainless steel trowel should be all you need to get started! Look for a good quality trowel, with a comfortable handle.
Hawk: A
Hawk is designed to hold a dollop of plaster ready for application on the walls. The
hawk also makes it easy to work the plaster to the right formation on the trowel, for a professional application. For beginners, a plastic
hawk is an economical option however
aluminium hawks tend to be sturdier and well balanced.
Finishing Tools: After applying the plaster, you'll need tools for smoothing and refining the surface. A
plasterer's float is used to flatten the plaster and remove any imperfections, while a
sanding block helps to achieve a smooth finish. These tools are essential for achieving a polished and professional look.
Float: a
plasterers float is used to smooth the finish of the plastered surface. Most
finishing floats are flat sponge paddles with a plastic handle, they are used damp to create an even and smooth look. Some floats are plastic or textured, however these are typically used for rendering instead of finishing plaster.
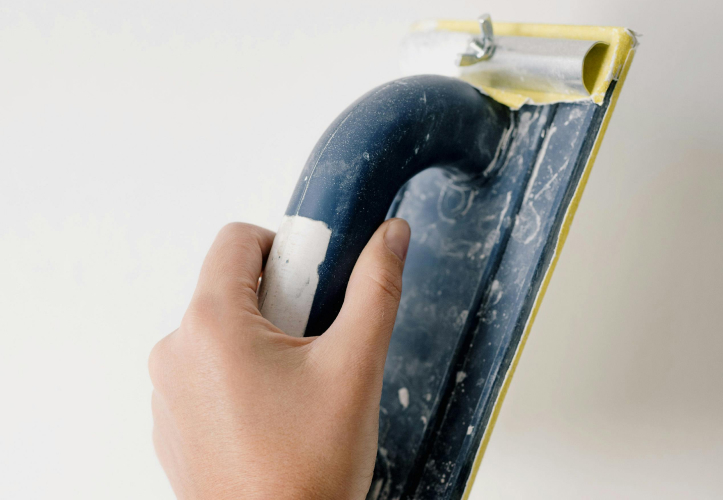
Sanding sponge: A
sanding sponge or
hand sander is a crucial tool for a polished finish, particularly as a beginner. Used to even out the surface, remove lumps and bums and create a smooth, flat plaster ready for painting or wallpaper application.

Additional Tools and Equipment
In addition to the essential tools mentioned above, there are several other tools that can aid in the plastering process. Corner trowels are useful for reaching tight spaces and ensuring clean edges, while feather edges help to achieve straight lines and smooth transitions between surfaces. These specialised tools can make the plastering process more efficient and help tackle specific challenges.
Special Trowels:Plastering trowels come in a huge variety of sizes, shapes and materials. For a small, DIY plastering project, its not likely you will need a large array of special trowels. However, for larger projects or multiple rooms, you may require some additional trowel types such as a
corner trowel or a
bucket trowel. Having said that, adding trowels to your plastering kit tends to be a 'learn as you go' process. So don't go out and buy an excess of unnecessary tools just yet!
Special Finishing Tools: to achieve a neat, uniform finish, special finishing tools such as a featheredge or a
plasterers finishing ruler can be helpful, especially for beginners. Try practising on a piece of plasterboard before attempting to plaster your first room. This way, you'll get to know which tools you may find most helpful.
Ladder: A ladder is an essential for plastering work, particularly in large rooms with high ceilings. Unlike painting, plastering requires you to get a lot closer to the wall and can not be applied with an extendible pole. Some plasterers even use stilts to plaster high places quickly and easily however this is a riskier apparatus that requires practice and skill.


